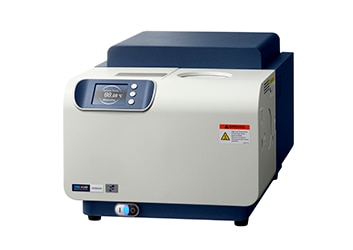
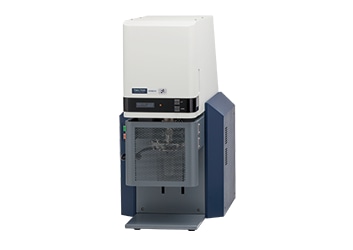
Software for NEXTA

Software for NEXTA features a guidance function to simplify various types of measurements based on standard methods and a new measurement mode that is very easy to use, even for beginners. New functions have been added to simplify instrument operation for users who new to thermal analysis, while existing capabilities have been preserved for experienced users. The following is an introduction to the new features in Software for NEXTA.
Main Functions
- Guidance Function( Standards-Based Guidance、Calibration Guidance)
- Simple mode ・ Standard mode
- Inserting picture - Editing picture
- Touchscreen operation including plot scale adjustment
- Customization options (Color palette for plots, save scale settings, hyper customization, data overlap settings)
- Mobile station (Remote viewing and operation)
- Additional functions
The following descriptions refer to primary functions.
Standards-Based Guidance
With Standards-Based Guidance, users will be walked-through the processes to
perform standards methods measurements according to organizations such as JIS, ISO, ASTM etc.
Conditions such as sample weight, temperature range, scanning rate, gas flow rate, etc. called out
in standards are set as default measurement suggestions.
Example of some standards supported by Software for NEXTA
| JIS | JIS K 7123, JIS K 7121, JIS K 7122, JIS K 6762, JIS K 6240 |
|---|---|
| ISO | ISO11357-4, ISO 11358-3, ISO 11357-3, ISO 11357-2, ISO 22768 |
| ASTM | ASTM E1269, ASTM E1641-16, ASTM E794-06, ASTM E793-06 |
Users can create their own guided standard methods, so anyone can measure samples easily (and correctly). By following explanations in the custom-made guidance, such as sample preparation method, sample weight, selection of sample container, etc., different operators can make the same types of measurements repeatably.
Calibration Guidance
By using the calibration guidance, even users who do not have experience with calibration can calibrate easily and correctly. Not only are measurement conditions suitable for each standard set automatically, calibration data can also be analyzed automatically after measurement. When a calibration expiration date is near, users can set a reminder to prompt recalibration prior to expiration. In addition, users can customize their own calibration procedure and guidelines.
It is possible to set up guidance for customized calibrations, so that even operator unfamiliar with the process can follow the instructuion and calibrate correctly.
Simple mode・Standard mode
Software for NEXTA has 2 measurement mode selections. Simple mode which is easy to use, even for beginners, and standard mode which preserves the conventional operation of the normal software.
For simple mode, by setting measurement conditions in advance, users just need to input minimum sample information in one screen and the measurement can be started instantly. Using this mode not only helps minimize complicated operations, such as setting up and checking detailed experimental conditions, but also reduces both total process time and operator entry mistakes.
In standard mode, it is possible to change / set the detailed measurement conditions just as one would with the conventional software. Improvements such as larger icons and touchscreen compatibility enhance overall usabilty.


Strengthen features of Real View® TA(Sample Observation System)
The Sample Observation System(Real View)is optional equipment that allows image collection during measurements. Real View can support operations such as sample length measurement, zooming in on digital images, or creating videos that reveal sample changes related to thermal reactions, etc.
Additionally, images can be linked and overlaid to time-stamps along the thermal data plot and image editing functions are also available:
- Histogram Correction
- Brightness/ Contrast
- Gamma Correction
- Sharpness
- Noise Reduction
- Clip
By inserting images using the analysis software, users can display multiple images and compare them to one another.

By editing images, users can observe irregularities on the sample surface and boundary layers more clearly.

By editing images, small cracks or pores can be made more visible. If users want to observe more detailed regions of a sample surface, the digital zoom function can be used to view sample surfaces at the micron scale

Improved operability (Touching operation・Active scale)
Software for NEXTA supports touchscreen operation. Additionally, the active scale function, which has been well-received by customers, allows the plot scale to be zoomed by operating the mouse wheel. This feature is also supported by touch panel operation.

Mobile station (Network connect)
Even if users are at a remote location, they can still check the progress of the measurement and analyze the acquired data.
Additional Functions
Automatic analysis, data search, multiple output, thumbnail display, slide show display, etc. Step-by-step "wizards" support use of all options and some maintenance procedures, including TG beam correction.
Compatible models
TA 7000 series or later
Contact Information
Contact online or find an agent of your region.


